Manage Users
If you have the admin role for your account, you may add users, deactivate/activate users, and change a user's role.
To get the admin role for your account, you need to contact the service desk.
Below, you can see an example overview of users.
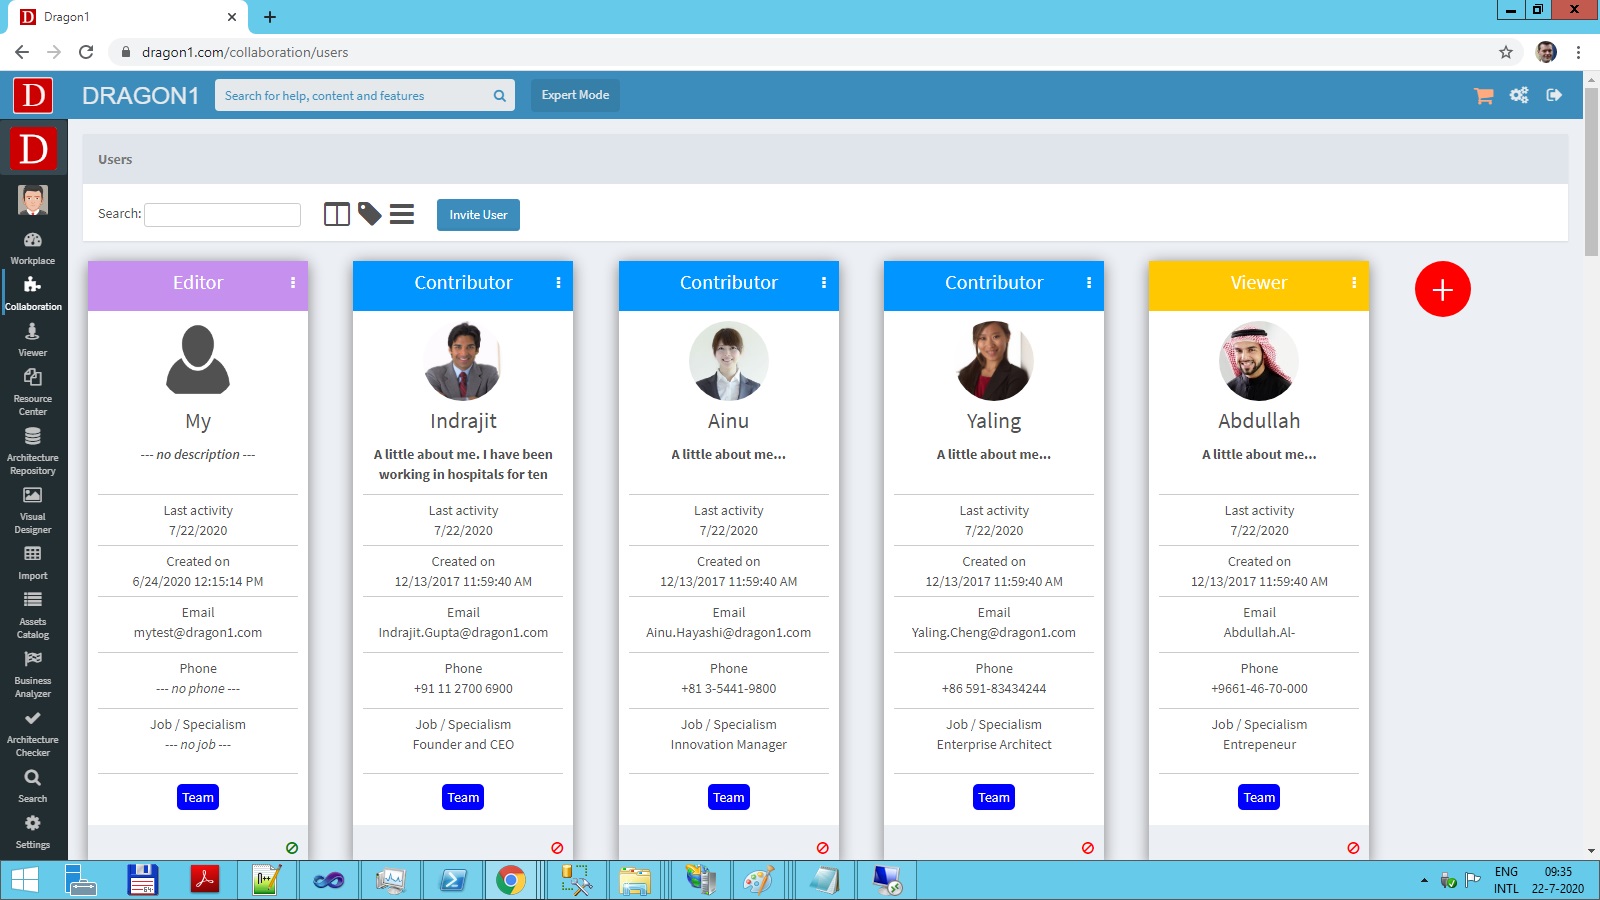
Manage Users overview.
Add Users
How to add a user?
To add a user:
- Log in as Admin
- Go to the Users List via My Teams in the Workplace
- Click on the red plus button
- Fill in a name and email
- Click on Add
The user is added to the account and has a login.
Edit User Info
To edit the info of a user:
- Log in as Admin or as User
- Click on the avatar/picture of a user
- Update the data in the dialog
- Click OK
Change Role
To change the role of a user:
- Log in as Admin
- Select the icon to the right of the user box
- Select the correct role: Viewer, Contributor, Editor, or Admin
- Click on Update
Change Group
To change the group access to applications:
- Log in as Admin
- Select the icon to the right of the user box
- Select the correct group
- Click on Update
Groups can be created, edited, and archived.
Change Application Access per Group
To change the application access of a group:
- Log in as Admin
- Select the icon to the right of the group box
- Select the correct application
- Click on Update
Enable / Disable Users
To deactivate or activate a user:
- Log in as Admin
- Click on the stop sign at the bottom right of the user box
- Answer the question with OK.